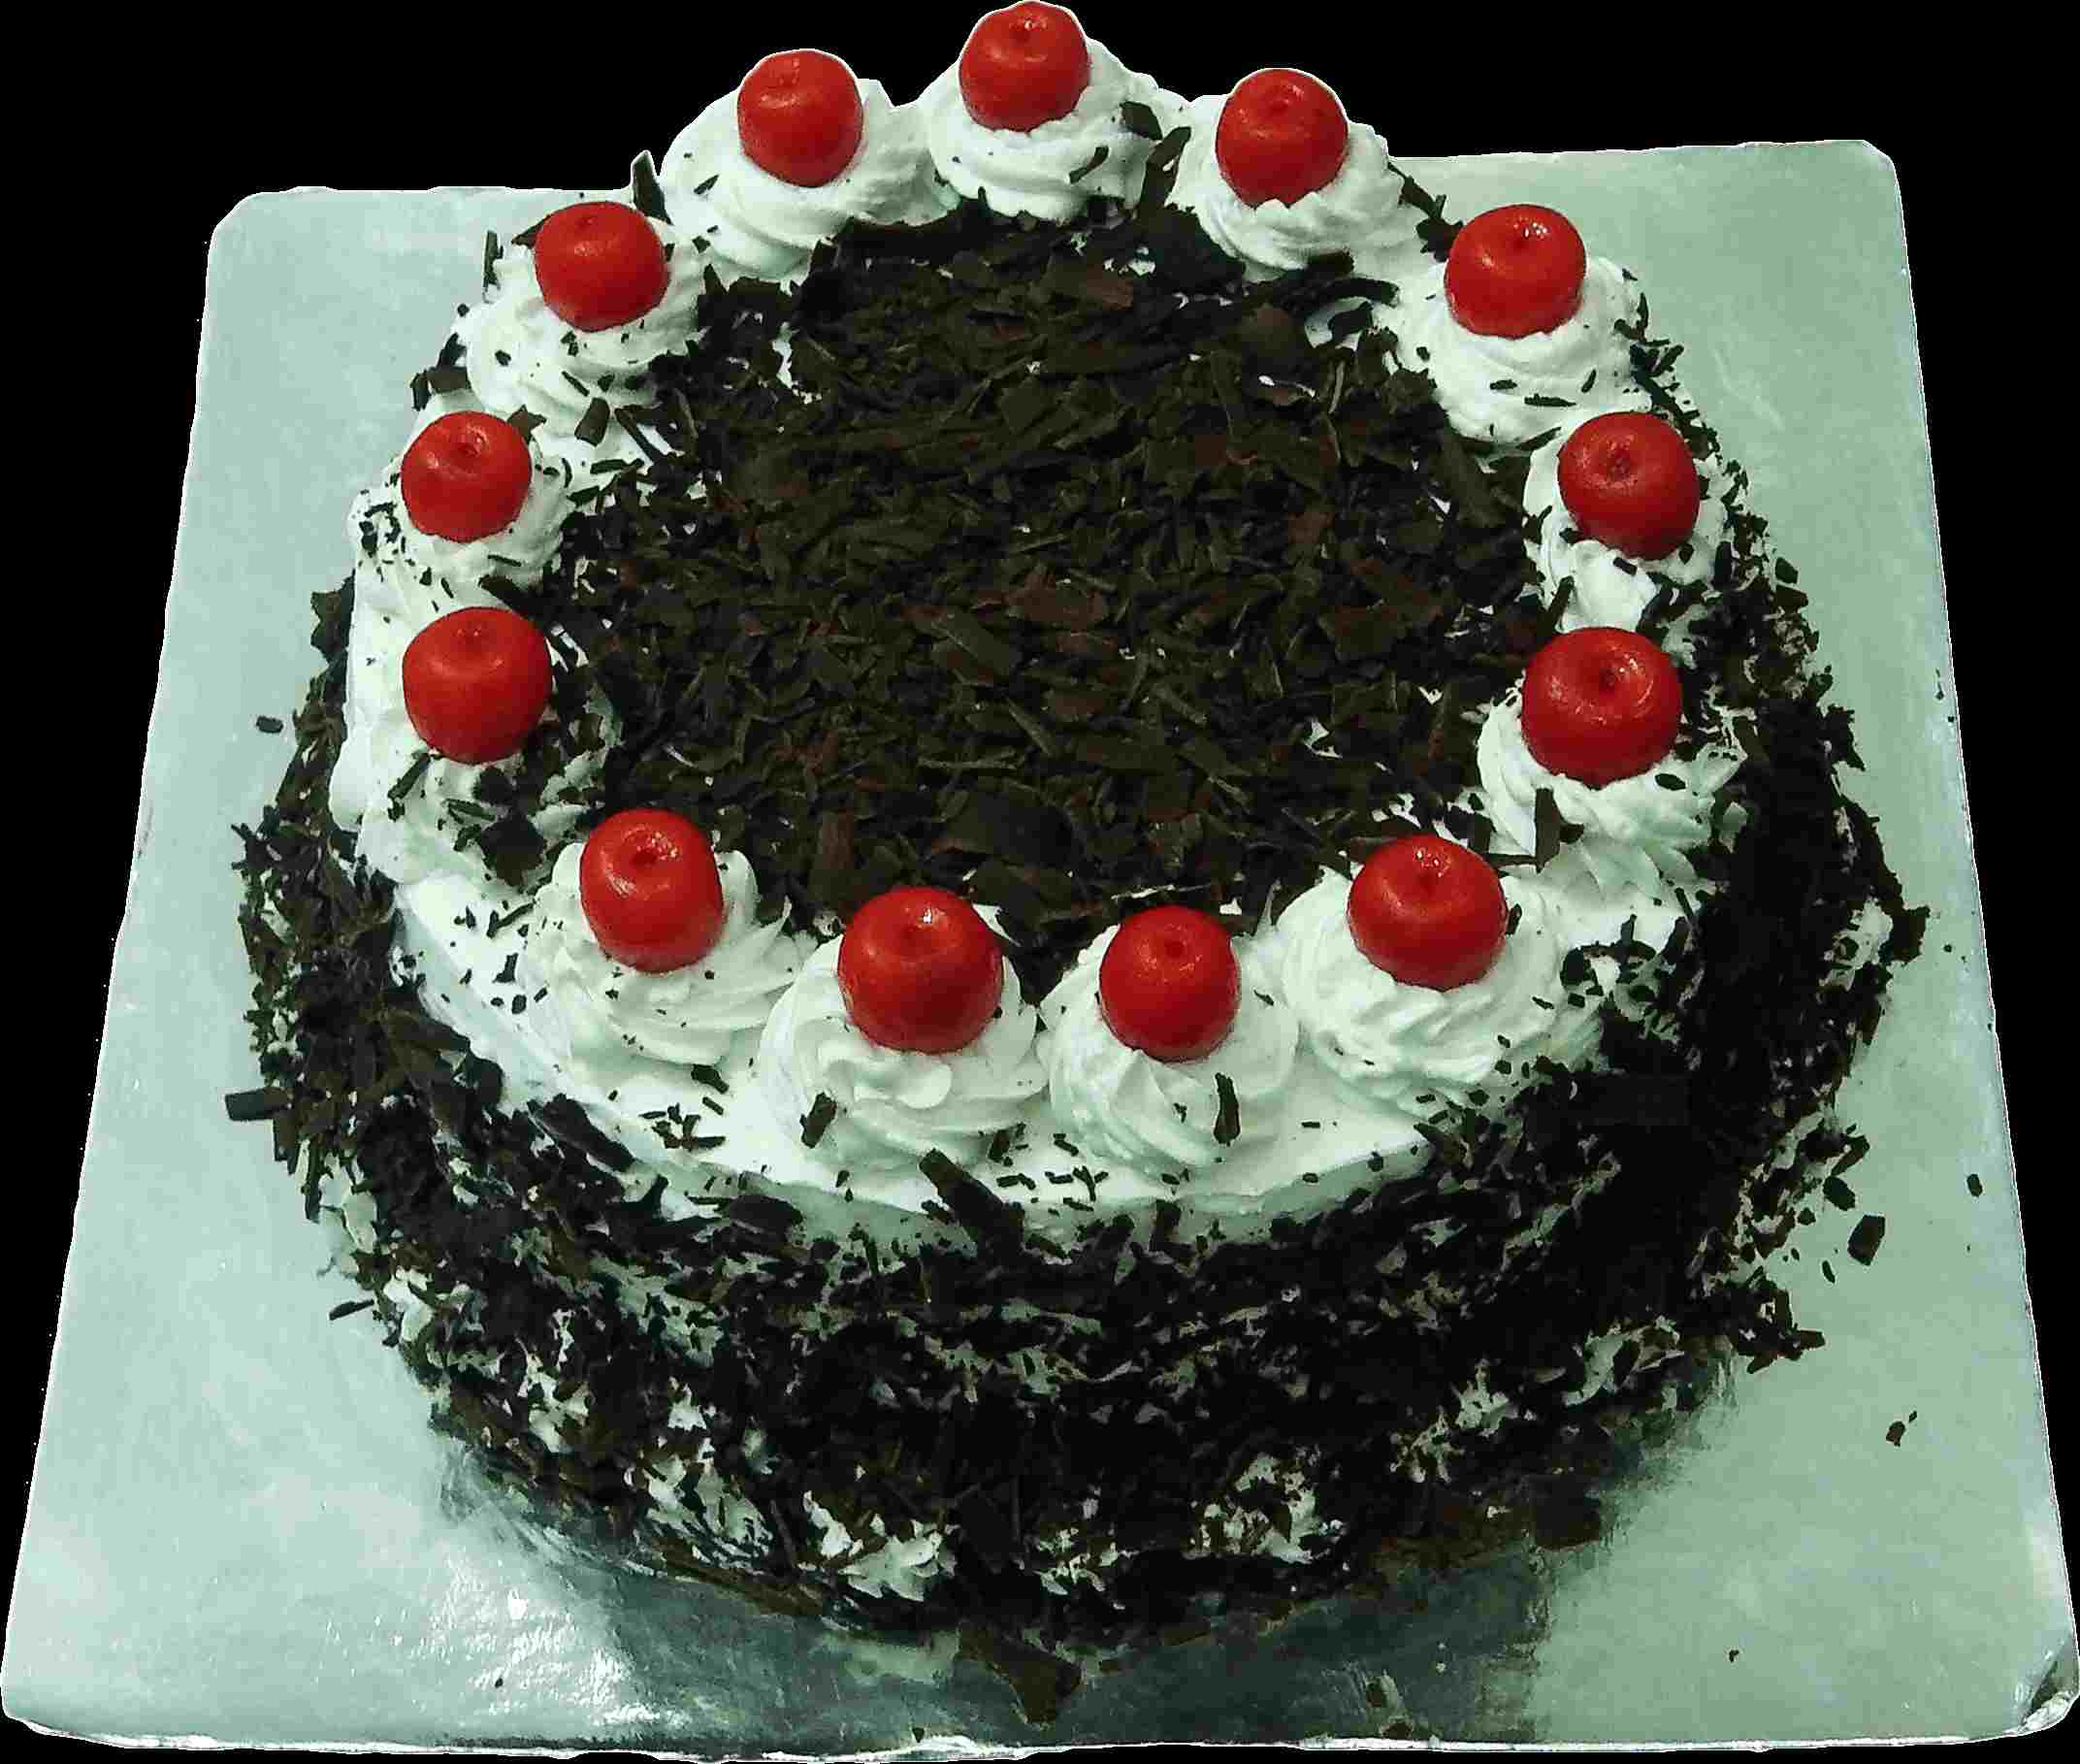
Black Forest Cake - Eggless Baking Without Oven

RECIPE CARD

Black Forest Cake - Eggless Baking Without Oven
INGREDIENTS:
- Onion - 2 {finely chopped}
- Coconut - 1/4 cup
- Potato - 1/4 cup {roughly diced}
- Carrots - 1/4 cup {roughly diced}
- Cauliflower - 1/4 cup {small florets}
- Beans - 1/4 cup {chopped}
- Paneer - 50g {cubes}
- Oil - 2 tbsp + as required to shallow fry veggies
- Cumin Seeds - 1/2 tsp
- Asafoetida - 1/4 tsp
- Curry Leaves - 4-5
- Green Chilis - 2 {slit}
- Dry Red Chilis - 3 + 1
- Bay Leaf - 2
- Ginger Garlic Paste - 1/2 tbsp
- Blended Tomatoes - 6 Medium
- Salt - as per taste
- Kashmiri Red Chili Powder - 1 tsp
- Black Pepper - 1/4 tsp
- Amchoor Powder - 1 tsp
- Garam Masala - 1 tsp
- Sambhar Masala - 1 tsp
- Sugar - 1/4 tsp
- Coriander - handful [chopped]
- Corn Flour - 1/2 tsp
- Capsicum - 1/4 cup {roughly diced}
- Coconut Milk - 3 tbsp
- Tadka Garnish : Oil - 1 tsp
- Mustard Seeds - 1/2 tsp
- Split Bengal Gram / Chana Dal- 1/2 tsp - N/A
- Split Skinless Black Gram / Dhuli Urad Dal- 1/2 tsp - N/A
- Curry Leaves - 2-3
- Dry Red Chili - 1
- Coriander - 1 tsp {finely chopped}
RECIPE STEPS:
Sponge
- Add the salt to a cooker, use a idli cooker or a normal cooker(without whistle). Then keep a rack, cover and heat in low flame!
- Take a bowl and add in the room temp. butter, beat it. Then add the sugar and cream until light and fluffy. Takes 2-3 mins! Now add condensed milk, whisk for good 3-5 mins.
- Take a sieve and sift in the flour, cocoa, baking powder, baking soda. Fold the flour into the wet ingredients using a spatula or a spoon.
- Slowly add in Milk or hot water and make a smooth dropping consistency batter.
- Apply butter to a cake tin preferably a 6" or 7"(depending upon height required) or a steel/aluminium container of such diameter. Then a butter paper(for smooth, perfect, cake!) in the bottom and again butter it.
- Add the batter to the cake tin and then tap it twice!
- Keep the tin in the cooker which must be preheated by now, Cover it and make sure its in low flame!
- Bake for 25-30 mins*. Check after 25 mins with a toothpick, if the toothpick comes out clean, cake is ready! If not, bake for another 5 mins.
- After cake is baked, take it out and let it cool for 10 mins. Loosen the sides with a knife and then transfer the cake into a plate then a cooling rack!
- Chocolate Sponge is ready.
Icing
- Chill a stainless steel bowl and a wire whisk in freezer for about 15-30 mins. Also make sure the cream is chilled!
- Add the chilled cream, powdered sugar and vanilla(i don't prefer) to the chilled bowl and whisk until soft peaks! Then keep the cream in the fridge for another 15-20 mins and then beat for 3-5 mins or until stiff peaks!
- Whipped Cream is ready!
Filling
- Take the cherries and crush them lightly to take the seed out!
Syrup
- Take out syrup from cherry tins. Add sugar to it and then heat until sugar melts! Don't over heat, just until sugar melts.
Shavings
- Take dark compound chocolate bar and peel it with a peeler! After peeling, freeze for 10 mins or more so that they get stiff and its easy to crush and apply!
Lets Assemble
- Take 3-5 bowls and keep a plate over it. Or simply use a turn table!
- Cut cake into three layer horizontally by turning the table. Transfer the layers to a plate.
- Touch the turn table with cream to ensure safe decoration and then add the bottom sponge layer to it.
- Spread 3-4 tbsp of syrup to it. Spread a good 1/2 inch layer of cream to it. Then some cherries. Now the middle layer, syrup, cream and cherries.
- Now the final layer, keep it upside down and then spread syrup!Take a big dollop of stiff cream and then spread it on top as well on sides. Then make it smooth! If crumbs are seen, do a crumb coat!
- Keep the cake in freezer for 10 mins(optional). Makes easier to transfer to serving base!
- Transfer the cake to Cake base using palette knife. Be careful!
- Now add the remaining cream to a piping bag fitted with a star nozzle. Pipe with circular motion on top which makes rosettes.
- And pipe and lift on bottom.
- Sprinkle chocolate shavings all over sides and top.
- A cherry on the top of each rosette!
- Its ready!
RECIPE NOTES :
Cocoa Powder Quantity: It depends upon quality. I would recommend to use 3.5 tbsp!<br/>Milk/Hot water: You can use either one. I prefer both. About 2-3 Tbsp Milk and rest hot water. Using only milk can produce a milk chocolate type of taste!<br/>Baking Time: It depends upon the stove.. It can take upto 45 mins.. But dont overbake.. Once the toothpick comes out clear, switch off the flame and take it out! Overbaking can result into hard cake!<br/>Usually Kirsch(Cherry Rum) is used in this cake as a syrup. We are making at home, so we'll use the cherry syrup from tin!<br/>You can use any of red cherries, black cherries, maraschino cherries. They are available in tins!

